Filet crochet bunny blanket (for a beautiful baby!)

When I found out my best friend Sam was having a new baby girl, I knew I wanted to make her something extra special. It was then that I spotted the Filet Crochet Bunny Blanket on the beautiful Instagram holly_pips (take a look – Holly’s blanket colour combos are just so dreamy!).

I couldn’t get it out of my head. I’d never tried filet crochet before, but after much deliberation I decided to give it a go. And I’m so glad I did!

Red Heart filet crochet bunny baby blanket finished project

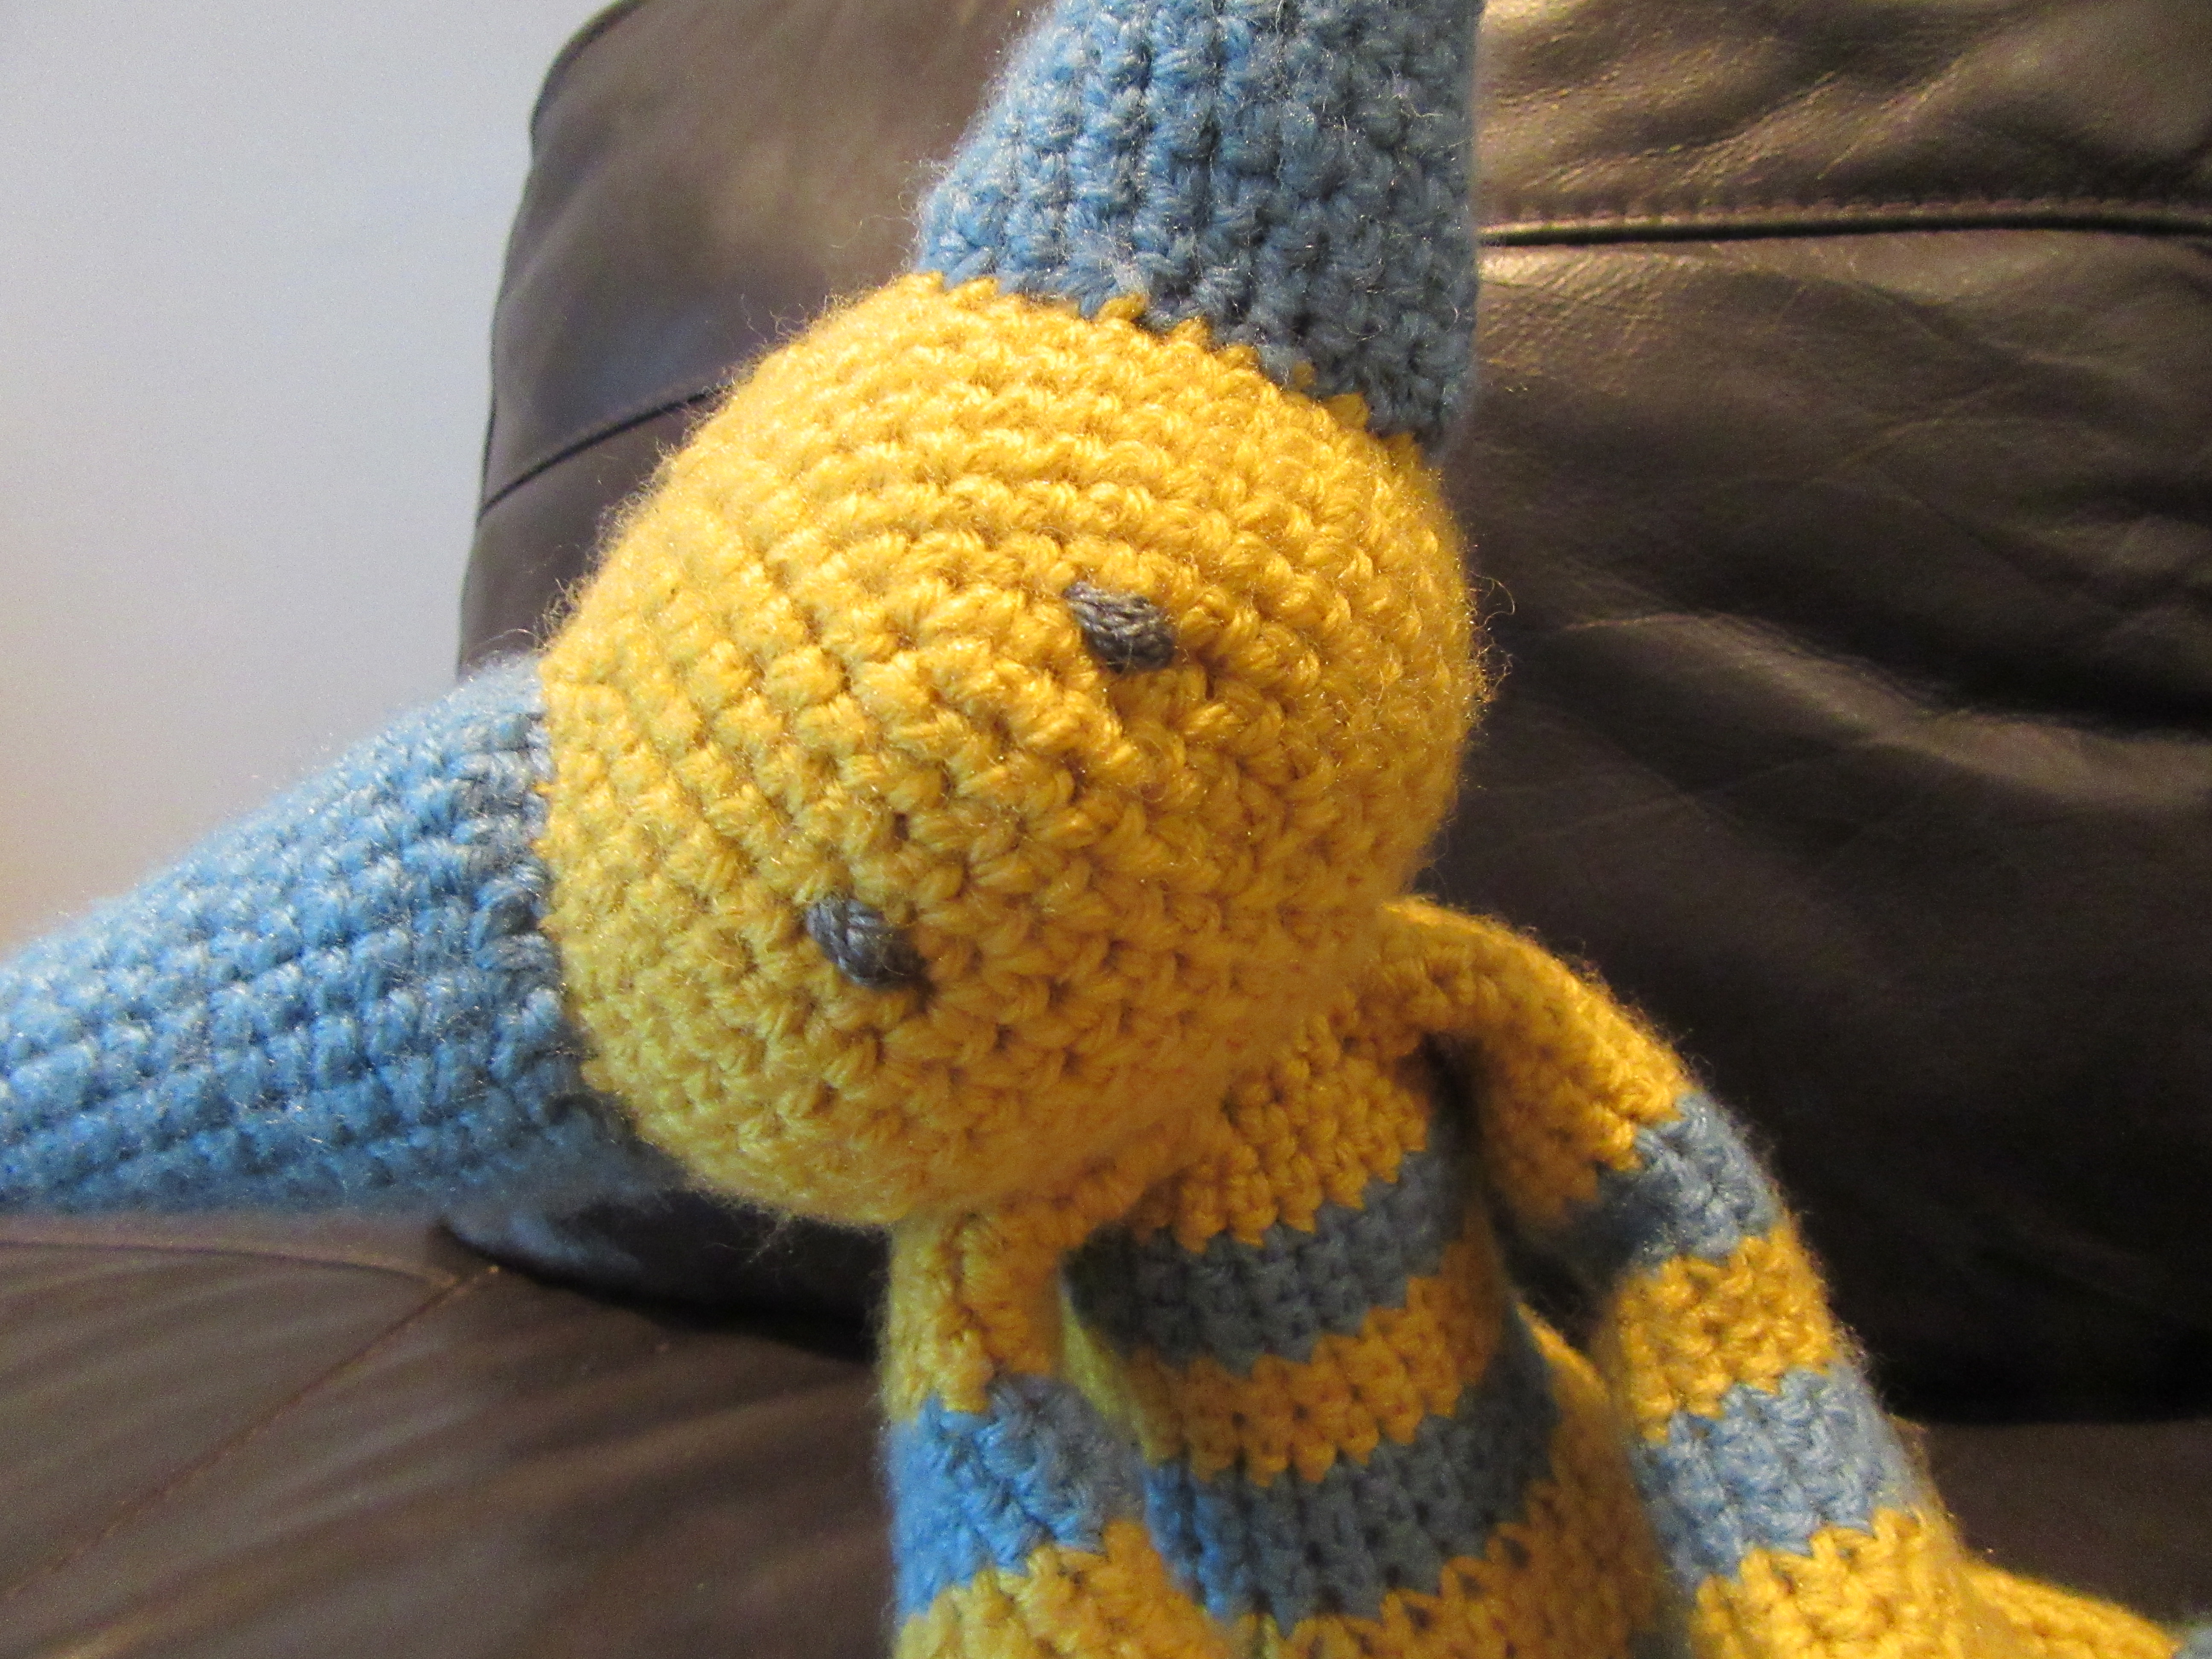
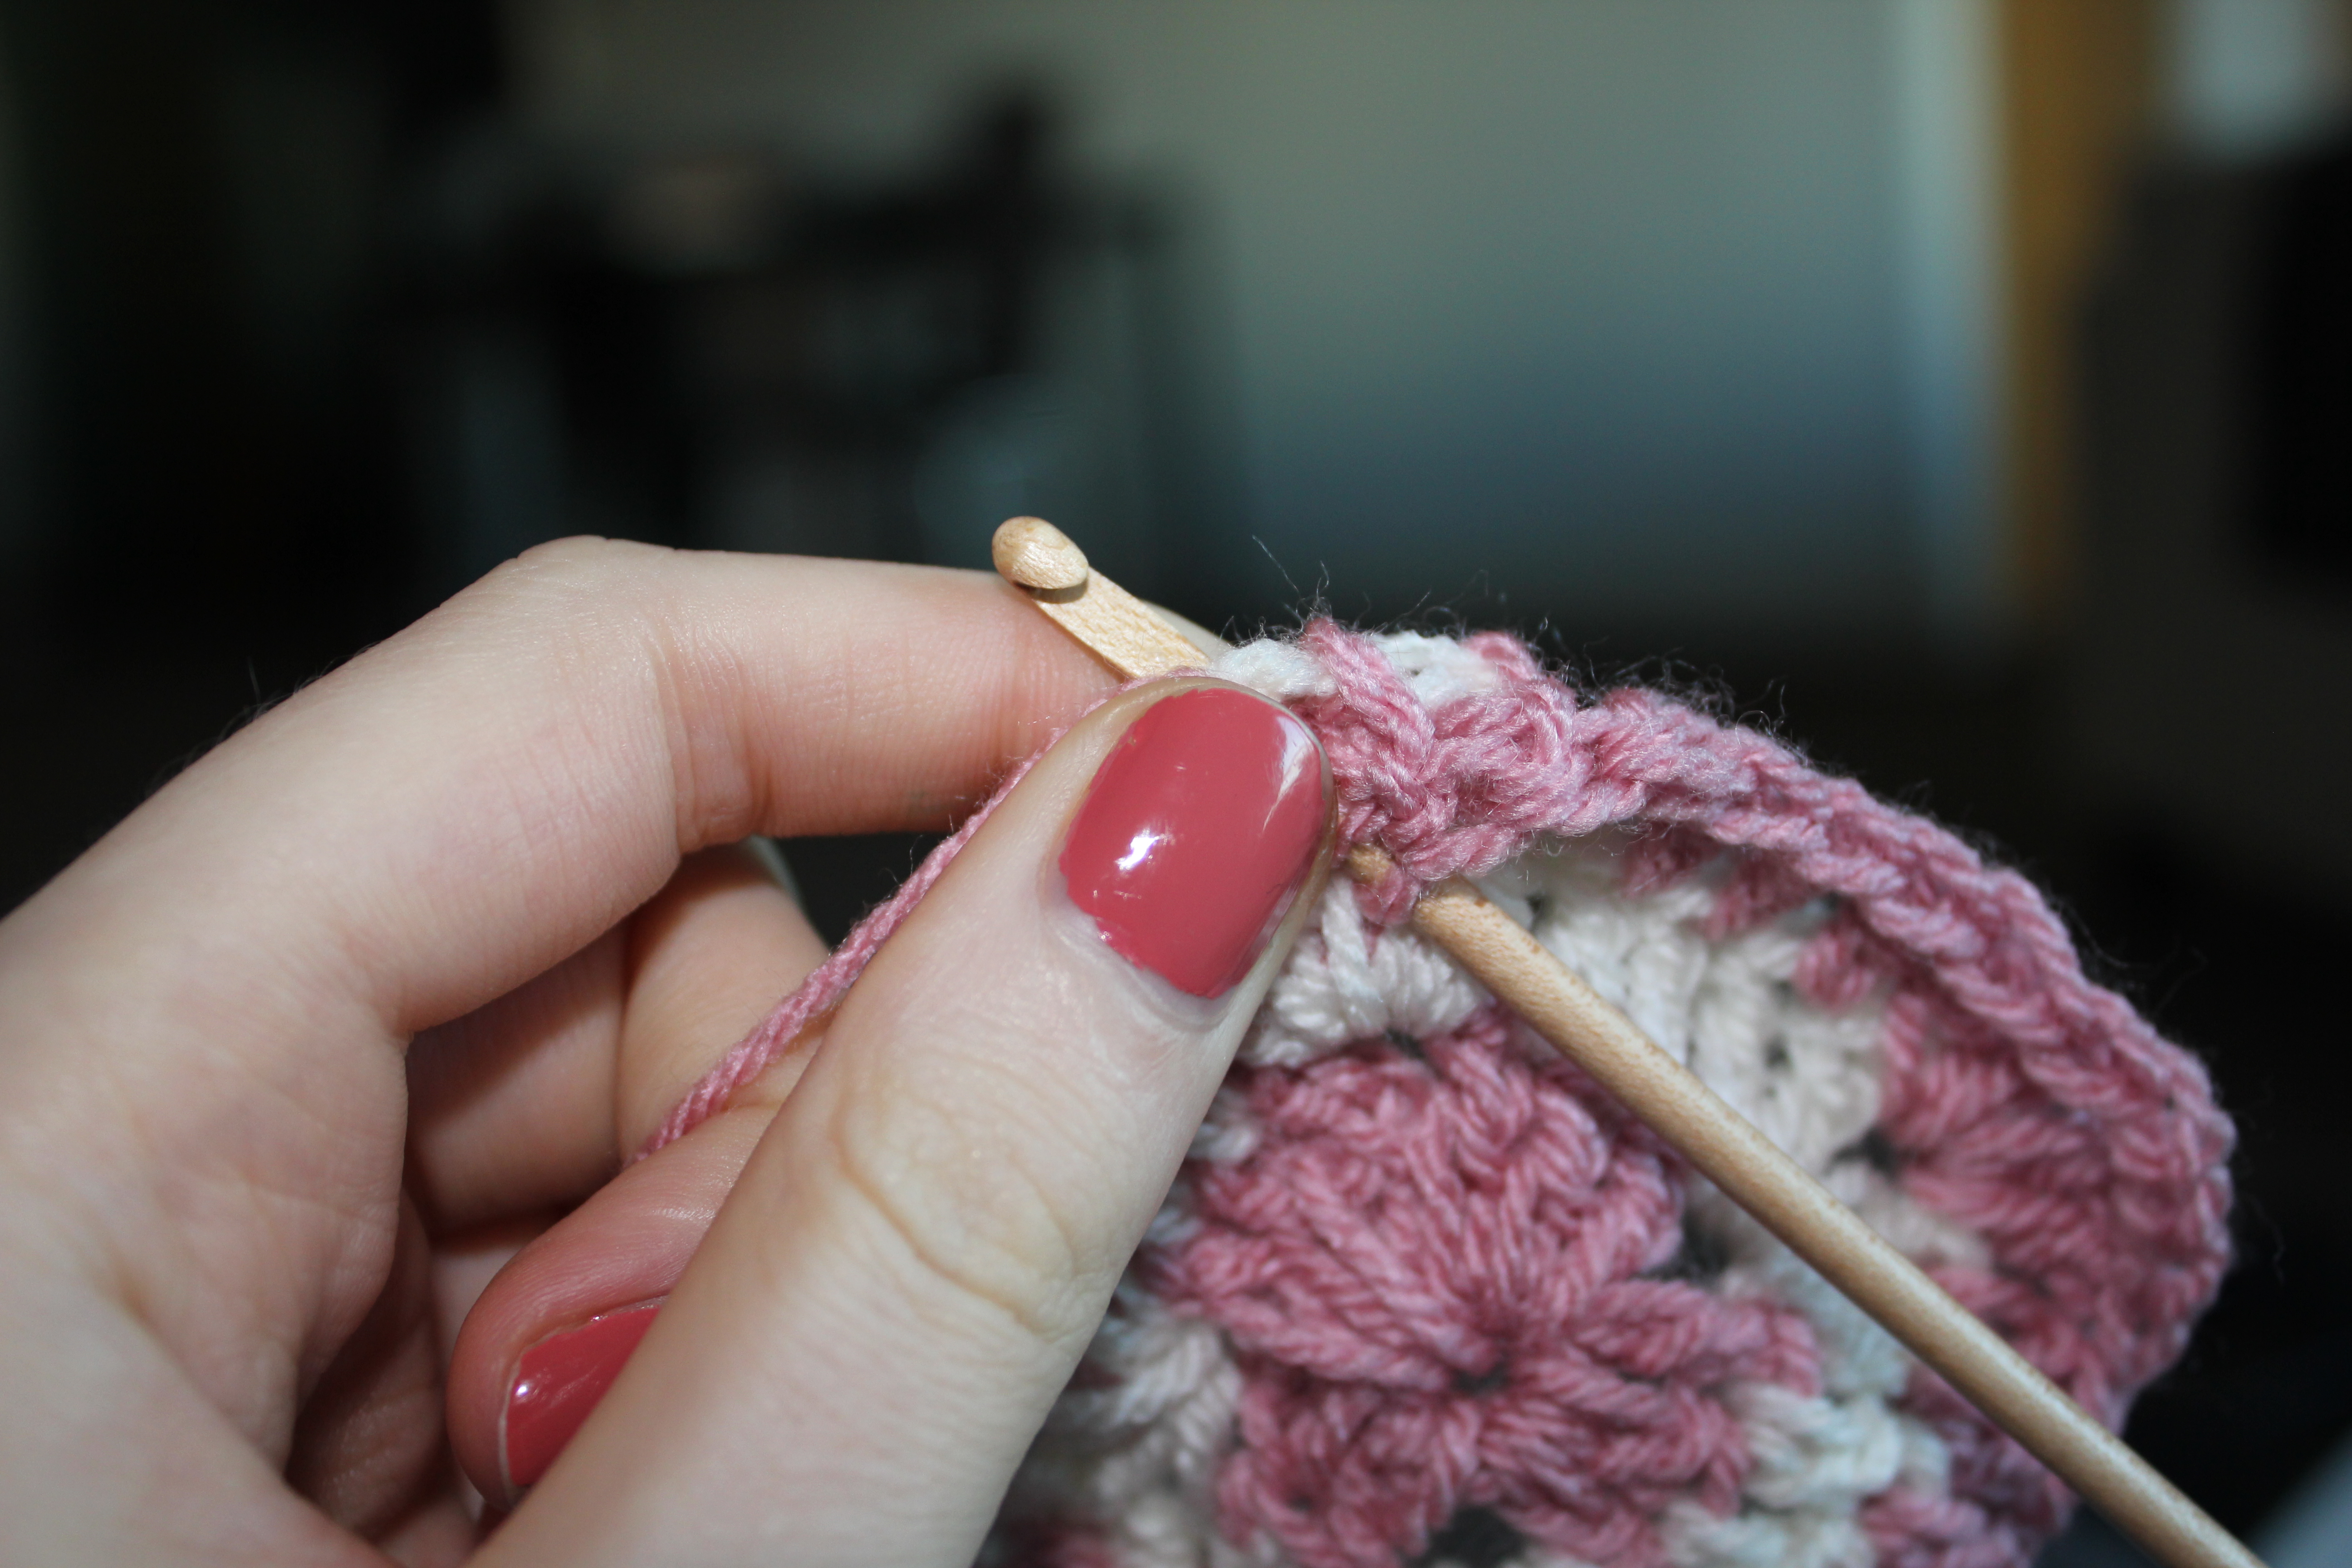
Filet crochet, sometimes known as pixel crochet, involves working a series of gaps and blocks to create a pattern. After initially not realising I’d picked up a US pattern (so dc didn’t quite mean what I thought it meant, which almost resulted in me launching the whole thing off my balcony before I worked it out), I was soon hooking along just fine.

It’s quite a simple technique to pick up, though it’s initially a bit tricky getting the tension right and remembering to pull out the stitches to create tall enough squares. You can see at the bottom of my blanket that it got a teensy bit puckered while I was still getting the hang of it, but once I’d given the whole thing a wash it was far less noticeable! The pattern also gave me a chance to crochet my very first border, which gave the whole thing a really polished look.

For my blanket, I used Sirdar Hayfield Baby Aran in Cream. It was beautiful to work with and washed really well; it was only after I finished that I realised it definitely needed to be machine washable seeing as it was for a newborn and a busy mum, and luckily it was!

Unfortunately I never got around to taking many pictures, but here’s one that really shows off the pattern.

Red Heart filet crochet bunny baby blanket, draped over back of sofa.

And here’s one last one of a happy little me with the blanket all wrapped up just before gifting it to Sam.

Holding Red Heart filet crochet bunny baby blanket, all wrapped up!

Have you tried filet crochet? Or even this pattern? I’d love to see – if you have one, share a link to your project in the comments below!

Edward’s Imaginarium – My first monster

Edward's Imaginarium blue and yellow flipbook monster - back.

Yep. That’s right. I’m on about Kerry Lord’s lovely work yet again – and following on the success of Edward’s Menagerie and Edward’s Menagerie Birds, Kerry from Toft has brought out her most fun and creative book yet.

Edward’s Imaginarium, also known as Ed’s Flipbook, is refreshingly unique and absolutely brimming with fun. It uses a series of different pattern options for heads, arms, and feet – all of which start with the basic head and body pattern, which is similar to what we’ve come across before in Birds – that you can mix and match in a flipbook style to create a monster of your own.

As soon as I picked it up I knew I wanted my first project to be a monster for my friend Sam’s kiddo, Ernie – and I also knew I wanted to go large. So, I nipped over to the ever brilliant Knit Nottingham on my lunchbreak to grab some chunky yarn in a whole bunch of colours to give me a starting point. Then, I got sketching.

Starting out on my Edward's Imaginarium flipbook crochet monster.

In the instructions for how to use the book, Kerry encourages you to grab your pencils and sketch out how you’d like your creature to look. And while there are lots of ready-made patterns you can follow in the gallery at the back, what I love about this book is that it really encourages you to be creative and adapt patterns to fit your ideas.

I’m usually super conservative and terrified of straying from a pattern, but with this I crept out of my comfort zone and soon found myself sketching, colouring, and creating a little monster pal all my own!

Edward's Imaginarium blue and yellow flipbook crochet monster - sewing together.

I used H:2, A:10 and F:11 with a version of the three-round stripe; I followed it as normal for the body, but then stuck with my main colour for roughly 8 rows on the arms and legs before going into the stripe (as I didn’t want him to look like he was wearing a stripey onesie!). I also added a tail for a little extra sass.

Edward's Imaginarium blue and yellow flipbook crochet monster - front.

Edward's Imaginarium blue and yellow flipbook crochet monster - close up.

I’m so chuffed with how this little cutie turned out. The instructions were terrifically easy to follow, and it was so satisfying how quickly the chunky chap worked up in the weightier yarn. And while it was already great bringing something I’d dreamt up to life, it was even better seeing how pleased Ernie was with his present.

I think I’m going to cast on a knitting project next, but I can’t wait to make another little monster. Thanks, Kerry and Toft, for yet another brilliant book!

The best (and cutest) knitting stitch markers

There’s a good chance that, if you’re knitting a bit of clothing, you’ll at some point need to use stitch markers – especially if you’re working in the round.

While you can just as easily use a few strands of brightly coloured yarn, I much prefer ‘proper’ markers; there are so many fun, bright and beautiful stitch markers out there, and they look so cute dotted along your knitting.

I’ve been searching for more to add to my collection, and of course went straight to Etsy. So, here’s a round up of my absolute favourite stitch markers and sellers (and at the end, you’ll see the ones I actually went for!).

Rainbow Cake Stitch Marker (Korutumi) £2 each

stitchmarker1

How bright are these?! I adored the way these cake slice markers fit together to make a full cake. And Korutumi has a bunch of other lovely handmade designs, including these honeybees (save the bees!), which they make to order.

Penguin Stitch Markers (AbsoKnittingLutely) £8.50 for 4

stitchmarker2

I love penguins (who doesn’t?) and these reminded me so much of Feathers McGraw from Wallace and Gromit. The shop has a range of other novelty markers, but if you’re looking for quantity the set of 10 super colourful felted markers (picture below) could be just what you’re after.

stitchmarker3

Cards Against Humanity Markers (CalefRoadCrafts) £9.39 for 6

stitchmarker4

Okay, so these are about as far from cute and cuddly as you can get, but if you’re a fan of the gross-out game Cards Against Humanity these are the markers for you. CalefRoadCrafts also has a bunch of other geeky markers with designs from Adventure Time and Game of Thrones.

Yarn Ball Markers (HandDrawnYarn) £15 for 5

stitchmarker5

Edinburgh seller HandDrawnYarn’s beautifully handcrafted yarn ball markers really are something special. They’re available in a range of colours and would make a brilliant gift for knitting enthusiasts (i.e to me, from me, right?) – don’t forget to take a peep at the shop’s range of quirky yarn ball earrings while you’re there.

Literally everything (Stitchcuddles) roughly £4-£5 for 2, £7 for 4

stitchmarker6

What can I say about Stitchcuddles’ wonderful designs? This shop was definitely my standout favourite of the lot, and it was impossible for me to pick a favourite from shop owner Steph’s collection of good-enough-to-eat handmade markers – though if money was no object I’d have definitely plumped for the Afternoon Tea themed set (pictured above) which gets you 11 markers for £17.50. You can even pick the pattern for your tea set!

stitchmarker7

stitchmarker8

In the end I went for the Tea for Two – pictured above – with bourbon biscuits (my favourite!) instead of croissants and a floral patterned tea set. I couldn’t believe the amount of choice; you can pick from about 25 different tasty treats and every single one seems so carefully made.

I’m totally delighted with my purchase and can’t wait for them to arrive. I’ll be sure to post a picture of them in action!

Do you have a favourite shop for knitting accessories? Or are you a crafter that makes stuff like this? Let us know in the comments below. Hope you’ve had a lovely weekend! 

The beekeeper’s quilt

Close up of a single knitted hexipuff for the beekeeper's quilt.

If you’re a regular on Ravelry you’re sure to have already heard of the beekeeper’s quilt, a mammoth blanket project made up of lots of tiny little stuffed, knitted hexagons – also known as hexipuffs.

If you’ve never heard of it, it’s a really great project that’s perfect for using up spare sock yarn (it’s knitted in 4ply) and for something to work on when you’re on the move or watching telly.

But it’s no small undertaking; for a big blanket you need at least 300 of the squidgy little dudes, and each one can take between half an hour and an hour – depending on how quick you are! From what I’ve seen on Ravelry, most people tend to pick it up between larger projects or make one or two hexipuffs as and when they feel like it, which is exactly what I’ve been doing too.

Collection of hexipuffs knitted with KnitPicks Chroma.

I’ve been working on my blanket on and off, according to my project on Ravelry, since May 2014, and I think I have about 80 hexipuffs so far. I don’t think I made any at all last year, so really that’s not so bad!

I haven’t actually made socks before (they’re on my list) so I’ve been buying yarn especially. I chose to use the beautiful Knitpicks Chroma, which has stunningly subtle colour changes and means I can make hexipuffs in lots of lovely coordinating colours without having to rummage about for different yarn. So far, I think it’s made my hexpuffs look like pastel-coloured sweeties.

Another collection of hexipuffs knitted with KnitPicks Chroma.

What really appealed to me about the project in the first place, weirdly enough, was the amount of time it could take. I loved the idea that I would be spending a chunk of my life, on and off, creating something that could be in my family for years. That’s the thing about blankets – they’re such a big, yet quiet, part of family life, whether wrapped around someone when they’re poorly or slung over the back of the sofa during the spring.

Thinking about giving this project a go? It’s knitted in the round, so make sure you have the right set of DPNs – and if you haven’t knitted in the round before, this is the perfect place to start! Take a look at these great hexipuff pattern ideas or browse the Ravelry project for inspiration.

I’ll be posting further updates as I go along, as I’m determined to get a whole bunch of these done over the coming months. If you’re making a beekeeper’s quilt of your own, I’d love to read about it or see a picture – just post in the comments below!

Edward’s Menagerie – Ina the Stork

Funny-looking birds and cute handmade toys are pretty much two of my main jams, which is why I specifically learnt to crochet to make Toft’s Sophia the Flamingo.

Anyway, as I mentioned in my flamingo post, I was lucky enough to get the Edward’s Menagerie: Birds book for Christmas, and I only managed to wait until Boxing Day to jump onto Wool Warehouse and order yarn for my next bird.

Rather than get ahead of myself (something I’m kind of known for doing), I sensibly decided to stick with Level 1 birds, which use more basic crochet skills. There are so many beautiful patterns even just in that section, but I decided to make Ina the stork; I loved the contrast of her white feathers with her super bright orange legs. And look how she turned out!

In situ shot of crocheted Ina the Stork from Edward's Menagerie.

As far as yarn was concerned I needed something fairly inexpensive with vibrant colourways, and Cascade 220 Sport looked just right. When it arrived the colours were fantastic and I found it easy to work with. That said, despite having absolutely no problems with the skein of white yarn, the orange came apart and got nightmarishly tangled, so if you do use this yarn – be careful! In the end I had to just gradually unravel the whole thing and roll it back up into balls.

Side view of crocheted Ina the Stork from Edward's Menagerie.

As with the previous bird, the pattern was really easy to follow. The only thing I had trouble with (which you can’t really see here) was the tail, through my fault rather than the pattern – I still just haven’t quite nailed splitting rounds, but hopefully I’ll work it out next time!

Also, I think I might have slightly overstuffed the head and body, as she looks a tiny bit bloated. But otherwise, I’m really pleased with the result – especially the hilariously bright, wiggly legs, for which I used learnt a new technique to crochet a tiny fourth claw.

I’m taking a little break from crochet now to work on some knitting projects, though I did already order the yarn to make a bright yellow canary. When I’ve made a couple more, I’ll definitely be posting a full review of the book itself – so keep an eye out.

I’ll leave you with a final picture of adorable Ina. Let me know if you decide to give any of the Toft patterns a try!

Close up of crocheted Ina the Stork from Edward's Menagerie.

How to block #2: steam

You might have read about my very first attempt at blocking my knitting, where I bravely plunged my finished pieces into warm water and pinned them out to shape.

It was pretty much an act of blind faith in the internet and, luckily, it paid off – but I did find it to be a pretty brutal process, and my pieces took absolutely ages to dry off.

With that in mind, I decided to try a different technique when my latest project, a corn cob patterned cushion from the book Knitted Cushions by Alison Howard, asked for light blocking. Having had a little Google around, I went for steam blocking.

Steam blocking is scary sounding, but actually really simple.

First, you pin out your knitting to the right shape and size; I found this so much easier than pinning out floopy wet knitting and far less panic inducing. Also, after taking this photo I realised that these pins work much better if you slide them in horizontally rather than just sticking them in vertically like an idiot. The more you know, eh?

Knitting pinned out ready for blocking.

Then, you soak a thin towel in water, wring it out, and lay it over the top of your knitting.

Covering knitting with wet towel in preparation for blocking.

Next is the fun part! Grab your iron, set it to the top setting, and iron over the top. This creates steam that gently pushes through onto your knitting. Keep going until the towel is dry.

Steam blocking knitting using an iron.

Once you’ve done that, leave your knitting to properly dry out (this Craftsy article says about half an hour, but I gave it a couple just to be safe), and you’re finished.

Cushion pieces pinned out for steam blocking.

I was really impressed by the effect of this blocking technique (previously, the front of my cushion wouldn’t hold shape and was about four inches short of the right width) and I found it far less scary than wet blocking.

It’ll definitely be my go-to approach on my next project! 🙂

Edward’s Menagerie – Sophia the Flamingo

Back in the autumn, you might remember I posted about my sudden determination to learn to crochet as a result of this mad little project by Toft Alpaca Shop.

Well, after a few months on and off crocheting (mixed in with my misguided attempt to knit an advent garland, but that’s a stressful story better left untold) I finally sat down and finished the Sophia the Flamingo kit – and I’m so pleased with how she turned out!

Front view of Sophia the Flamingo, a crochet bird from Edward's Menagerie.

As a beginner to crochet, having only messed about with granny squares as I mentioned in my previous post, starting with a project like this was a little risky; after all, I was going from a few shaky squares straight up to shaping my very own bright pink, lanky toy bird.

With Toft, though, I needn’t have worried. The instructions were really clear, and they referred me over to the shop’s brilliant instructional videos on their YouTube channel for help when I got stuck. The videos were extremely helpful, and I found myself using them a lot to make sure I got things right.

I did stumble across a few issues, though. Being a crochet newbie my tension was awful at the beginning, meaning the head and body turned out smaller (and the neck shorter) than they should have been, and the first leg ended up with a teeny tiny foot. Luckily, after these parts I realised I needed to loosen things up a little. I also really struggled with counting the stitches when working with the black yarn, leading to a few pretty wonky toes!

Ultimately, though, I’m delighted with the finished project and am really pleased I decided to order the kit. It has everything you need, Toft’s Alpaca yarn is beautiful and bright, and it all comes wrapped up in a lovely drawstring canvas bag (which makes a great project bag).

Oh, and this is just the beginning for me and Edward’s Menagerie – my boyfriend picked up on all my (repeated) hints during December and fixed me up with the full book of patterns for Christmas. I’ll post a proper review on the book when I’ve made a few more birds, but it seems great so far!

Thanks, Toft, for inspiring me to pick up a new craft – and for giving me the means to fill my apartment with silly birds.

Side view of Sophia the Flamingo from Edward's Menagerie.

Crochet for beginners

The other day I found myself cooing over the patterns and kits over at Toft Alpaca Shop for the thousandth time, and this totally mad crochet flamingo finally tipped me over the edge. I had to have it. And I suddenly thought – why not just learn how to crochet? So, I did!

I already had a crochet blanket kit that I picked up at last year’s Handmade Fair, so I had everything I needed to get started when I had an afternoon to myself. Unfortunately, two hours in and four tries later, it seemed the kit wasn’t quite right for beginners – and I was ready to launch my crochet hook out the window.

Luckily, a little Googling the next day turned up this brilliant tutorial for simple granny squares on the blog Little Tin Bird. Heather, the blogger behind the site, explains every single step carefully with some extremely helpful pictures.

I had the right yarn and hook to give it a go, so I sucked it up and gave it another try!

IMG_7949

With this pattern, I practiced chain stitch, treble stitch and slip stitch. After how much I’d struggled with the other pattern, I can’t tell you how happy this tiny, pretty wonky pink square made me feel.

IMG_7950

I also learnt how to change my yarn colour.

IMG_7951

IMG_7952

IMG_7953

And, just like that, I had my very first granny square!

IMG_7955

It’s uneven, lumpy and a little sad looking in places, but I don’t care – I’m so delighted with how it’s turned out, and can’t get over the simplicity and helpfulness of the walkthrough on Little Tin Bird. If you’re thinking of giving crochet a go, it’s a fantastic place to start – I definitely recommend it!

Next, I think I’m going to make a bunch more squares to practice each technique. It’s so fun to be learning something new, and while I’ve a habit of trying to run before I can walk I really want to slow down and get my head around the basics.

If you have any beginners’ crochet patterns you’d recommend, let me know. I’d love to give them a try!

Anna Hrachovec’s Teeny-Tiny Mochimochi

They don't get much teenier, or much tinier, than this.

They don’t get much teenier, or much tinier, than this.

When I first got into knitting at about ten years’ old, I was only interested in knitting toys. In fact, I only knitted a jumper for the first time about 18 months ago; before that, it was always, always exclusively cute things on my needles.

How then could I resist Anna Hrachovec’s designs? I stumbled across her work on Ravelry a year or so ago and had been desperate to try some patterns ever since. Thinking I’d literally start small, I bought one of her books, Teeny-Tiny Mochimochi. That was last June – and I’ve finally gotten around to trying it!

First off, my initial impressions: the book itself is beautifully photographed and really well-written. Every character has it’s own cheeky little bio line – some of which made me laugh out loud – and the instructions are very clear.

Every question you could possibly have is answered before you even jump into the patterns themselves, and Anna even offers tips and tricks for stuffing these teeny little cutiepies and tying off your ends neatly.

The actual patterns are equally clear, and very simple once you’ve got the hang of battling nine stitches on DPNs. I started with an elephant (toot toot!) and hadn’t knit in the round for ages, so for a little while I felt a bit like a weird, low-budget version of Edward Scissorhands.

Did I deliberately paint my nails before I started knitting because I knew I'd take photos? Yep.

Did I deliberately paint my nails before I started knitting because I knew I’d take photos? Yep.

Patterns are mostly made up of simple increases and decreases and work with i-cords. All your new friend’s appendages are made by picking up and knitting stitches, so if you’ve got those skills down you’ll definitely be able to tackle any of the patterns in the book.

Altogether now: "Squeeeeee!"

It’s even cute without legs. Or ears. Or a face.

My favourite thing about these patterns (apart from their heart-wrenching cuteness, obviously) is that they really forced me to start being a bit of a perfectionist. Like my bio says, I’m a pretty slap-dash crafter, but with a project this small every mistake becomes glaringly obvious so it’s essential to pay super close attention to the instructions.

In fact, I even found myself approaching tying in my ends, and adding details, much more carefully; I even re-did the eyes (twice!) because I wasn’t sure they looked quite right. Because you’re working in such minute detail, the slightest difference in stitch placement can give these little guys an entirely different character.

Overall, I’d definitely recommend the book; it’s easy to follow, fun, and the results aren’t just irresistibly cute but achievable, too. It can be frustrating sometimes when you can’t get finished results to look like they do in their picture, but you won’t have that problem here.

I’ve now added a little dino to the family (he’s in the photo at the top!) and will be making a few more as a gift. Next, I’m dying to tackle Anna’s Squidpocalypse. It’s exactly as mad as it sounds.

mochimochi5

Small dino.

mochimochi4

Small tooter.

Small friends! :)

Small friends! 🙂

An overdue post about a Christmas jumper

This post is long, long overdue, but I was so proud of this project that I couldn’t let a busy Christmas and new year stop me from sharing it.

I’ve wanted to knit Alex something for a long while, and had originally promised to make him a Christmas jumper – you know, a proper tacky one with reindeer and stuff on it – but, I changed my mind.

He rocks knitwear, and I wanted to make him something special for Christmas that he could wear all year round.

lovely alex 3

I used Sirdar’s ‘Textured Jumper in Sirdar Click Chunky‘ with, for once, the recommended yarn. I usually mess about and pick different yarns of the right weight, but Sirdar Click Chunky is not only great value but beautifully soft – perfect if your lovely other half, like mine, can’t stand itchy clothing.

lovely alex 2

I couldn’t recommend this pattern enough. For its simplicity (it’s very repetitive, but I consider that a positive) and the quickness of the knit using chunky wool, it looks really effective. The cables are absolutely stunning and I was so happy with how they turned out.

lovely alex

If I could change anything, there is one spot where I messed up the rib pattern (see if you can tell where) and I’m not entirely happy with the fit on his shoulders.

Overall, while it did put me off knitting for a while (I as usual totally underestimated how long it’d take to weave in ends and sew it all together) I was so, so pleased with the end result. And, luckily, so was Alex!