
Right. It’s no secret that I’m a ridiculously haphazard kind of crafter, so it’ll come as no surprise to anyone that I’ve never bothered to block my knitting before.
If you’re wondering for starters what blocking even is, well, pull up a chair my friend. Essentially it involves dampening a piece of knitting (either by submerging it in water or using steam) and then pinning it out into the shape and size you want your finished piece to be.
I’ve never bothered to do this, more or less because I was worried it would go wrong and no one had really proven to me the benefits. But trust me, it makes a huge difference to the shape, size and finish of your work.
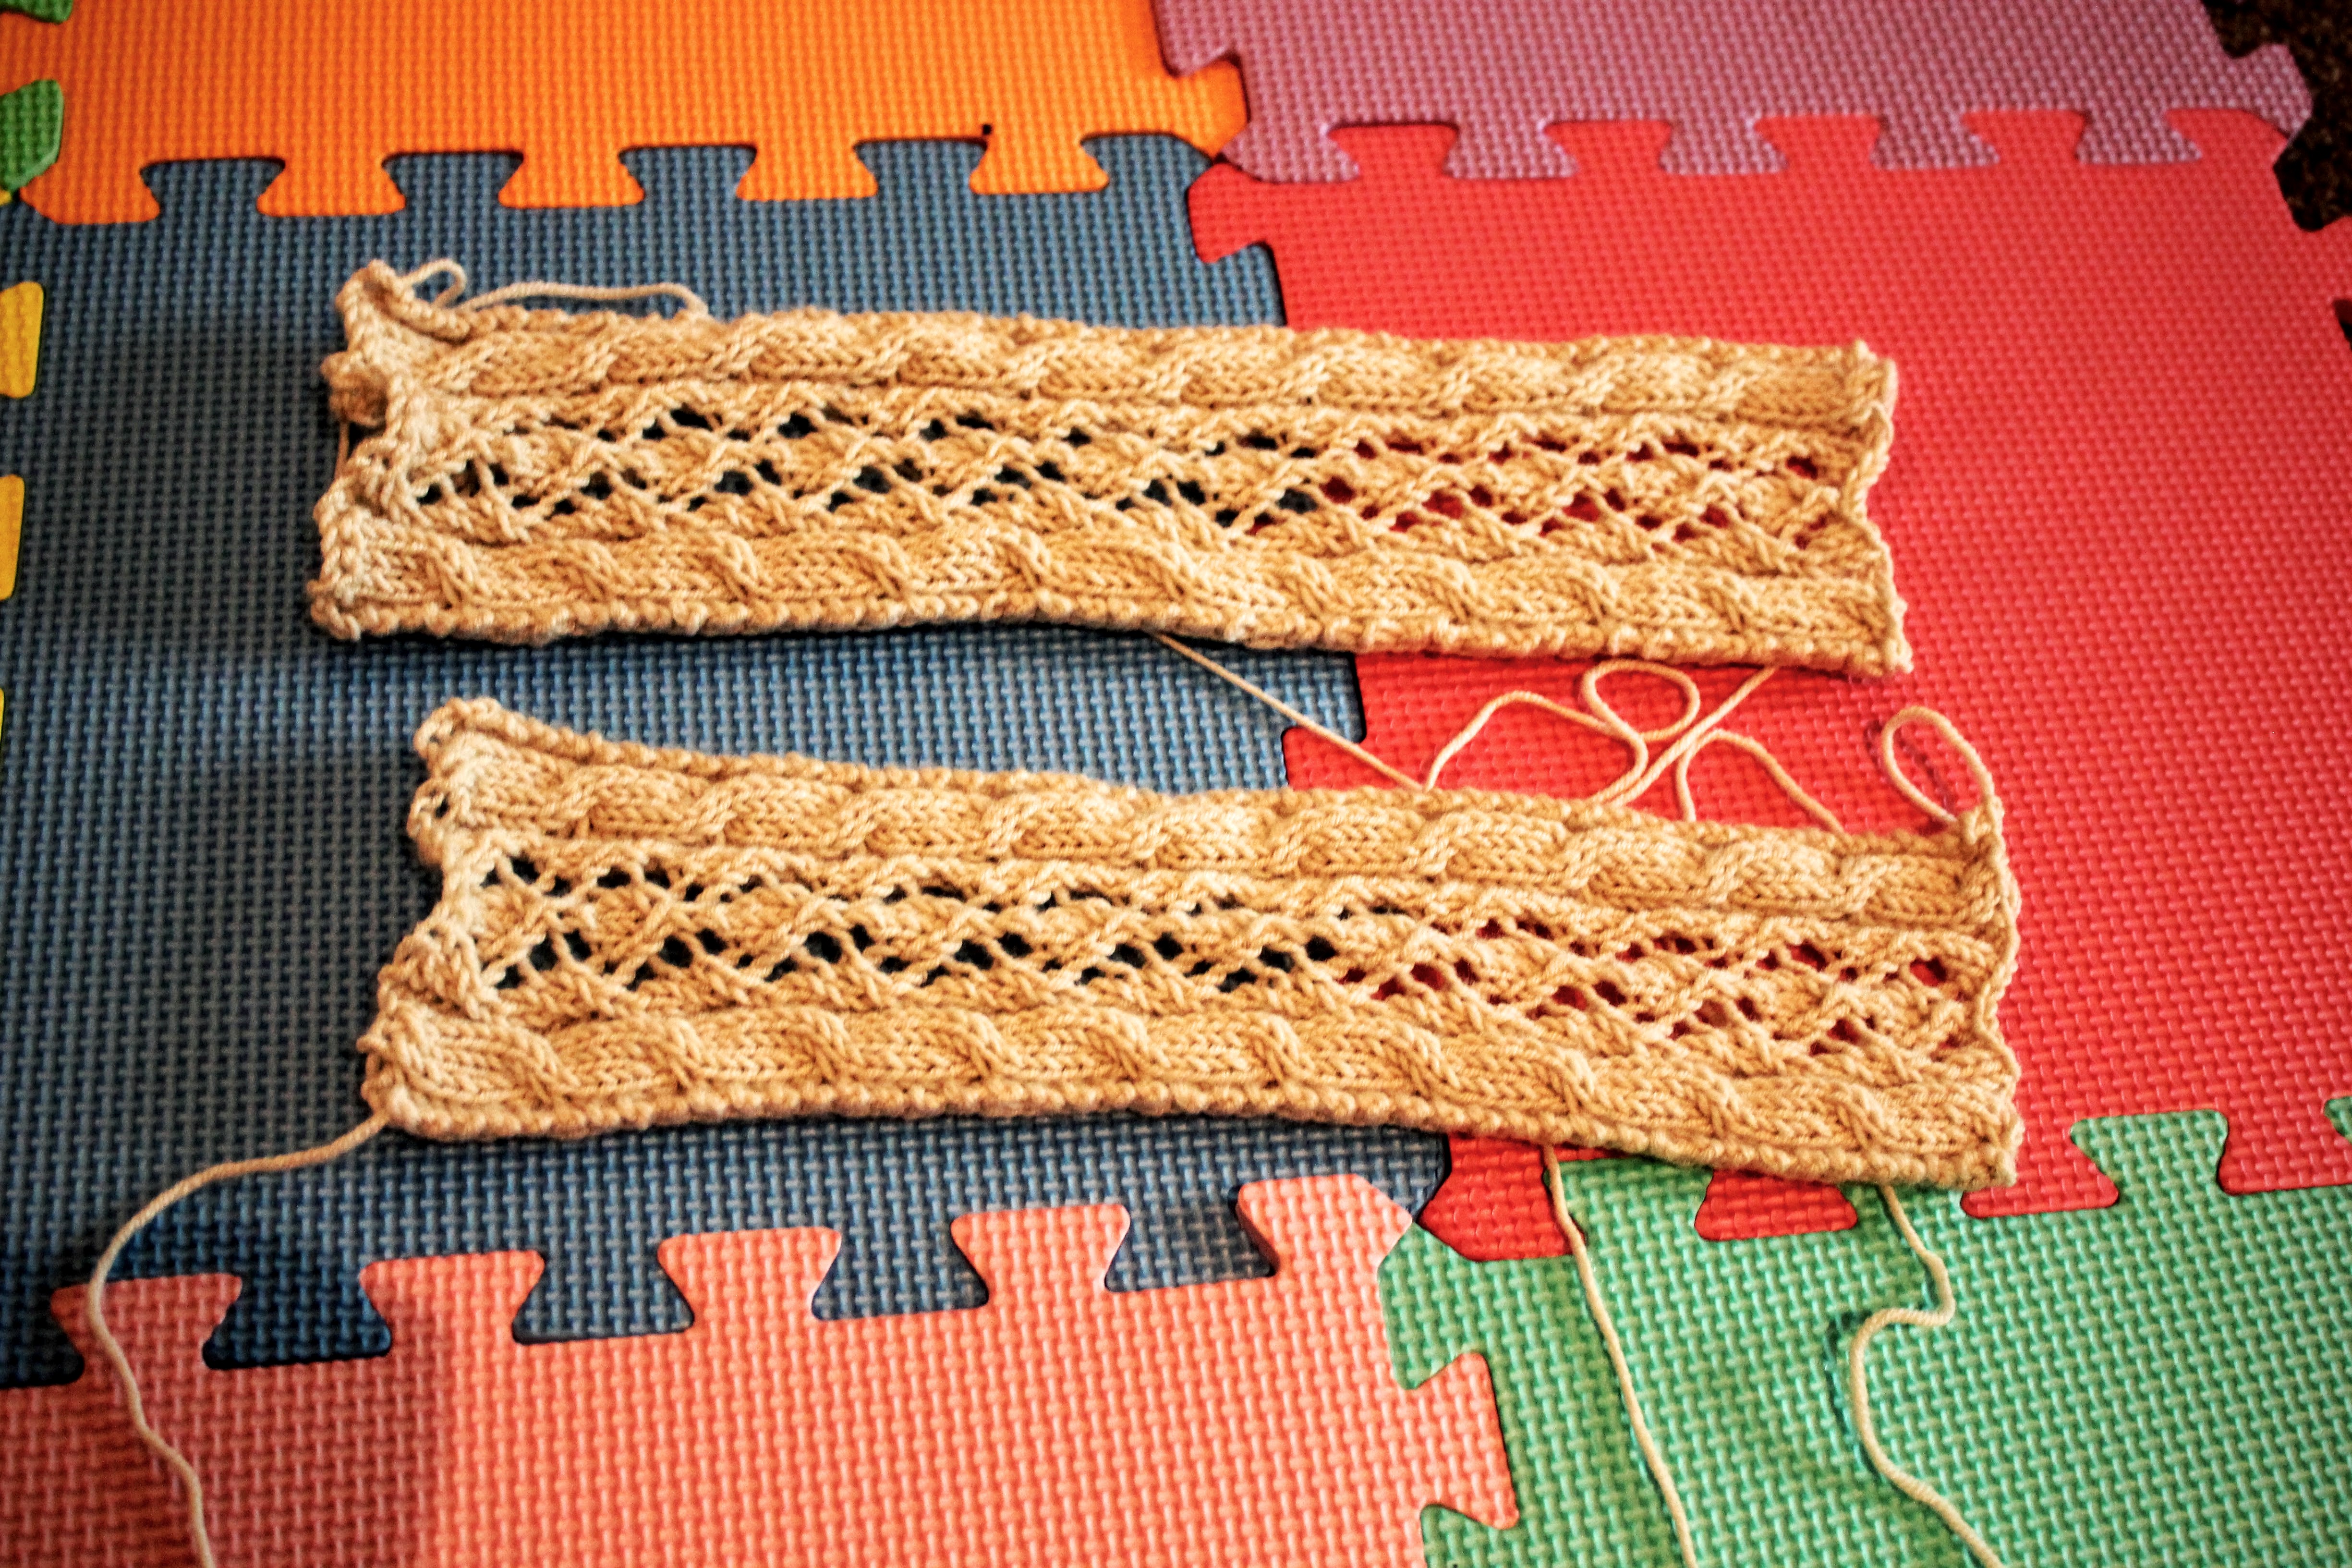
Blocking is especially useful when you’ve been doing a lot of shaping, cabling or lace work, as these things can totally mess up your tension and in turn make whatever you’re knitting come out a dodgy shape or size – like these sleeves did.
Dampening your knitting helps to relax the stitches. And that’s no joke; after submerging my pieces and lifting them out, the stitches were so relaxed it looked like my knitting wanted to droop languidly back into my washing up bowl.
By relaxing the stitches you’re then able to pin out your piece into the right shape, referring back to the measurements in your pattern. It’s also great for creating nice neat edges before you sew them together.
So, how did I do it? I’m going to show you my first attempt at blocking, with the example of the sleeves for the jumper I’m working on from Pom Pom Quarterly Spring 2015. Here’s my step by step, using the immersion method
1. First, I measured my knitting and had a look at the pattern to see what dimensions I needed to block to. I found that one sleeve was already the right length, while the other would need to stretch a bit.

2. Then I filled a clean washing up bowl with lukewarm water; hot water can felt your knitting, which you definitely don’t want. Craftsy suggests adding a little mild shampoo, but I just threw in a couple of pinches of wash powder (not enough to make it soapy) because I was nervous about getting bubbles everywhere. Then, the scary bit – submerging my knitting! 3. When my knitting was properly soaked – I let it lurk about underwater for a good few minutes – I carefully lifted it out and let the water drain away. I gave mine a scrunch to squeeze out some of the moisture, but be really careful; agitation, like properly hot water, can felt your knitting and make all the stitches smush together.
 You can also lay your knitting between two towels, roll it up and squeeze out the water that way. That sounds safer than what I did, reading it now! If you’ve used shampoo or things have got a lil soapy, run the bucket with cold water until the soap drains away, then take out your knitting.
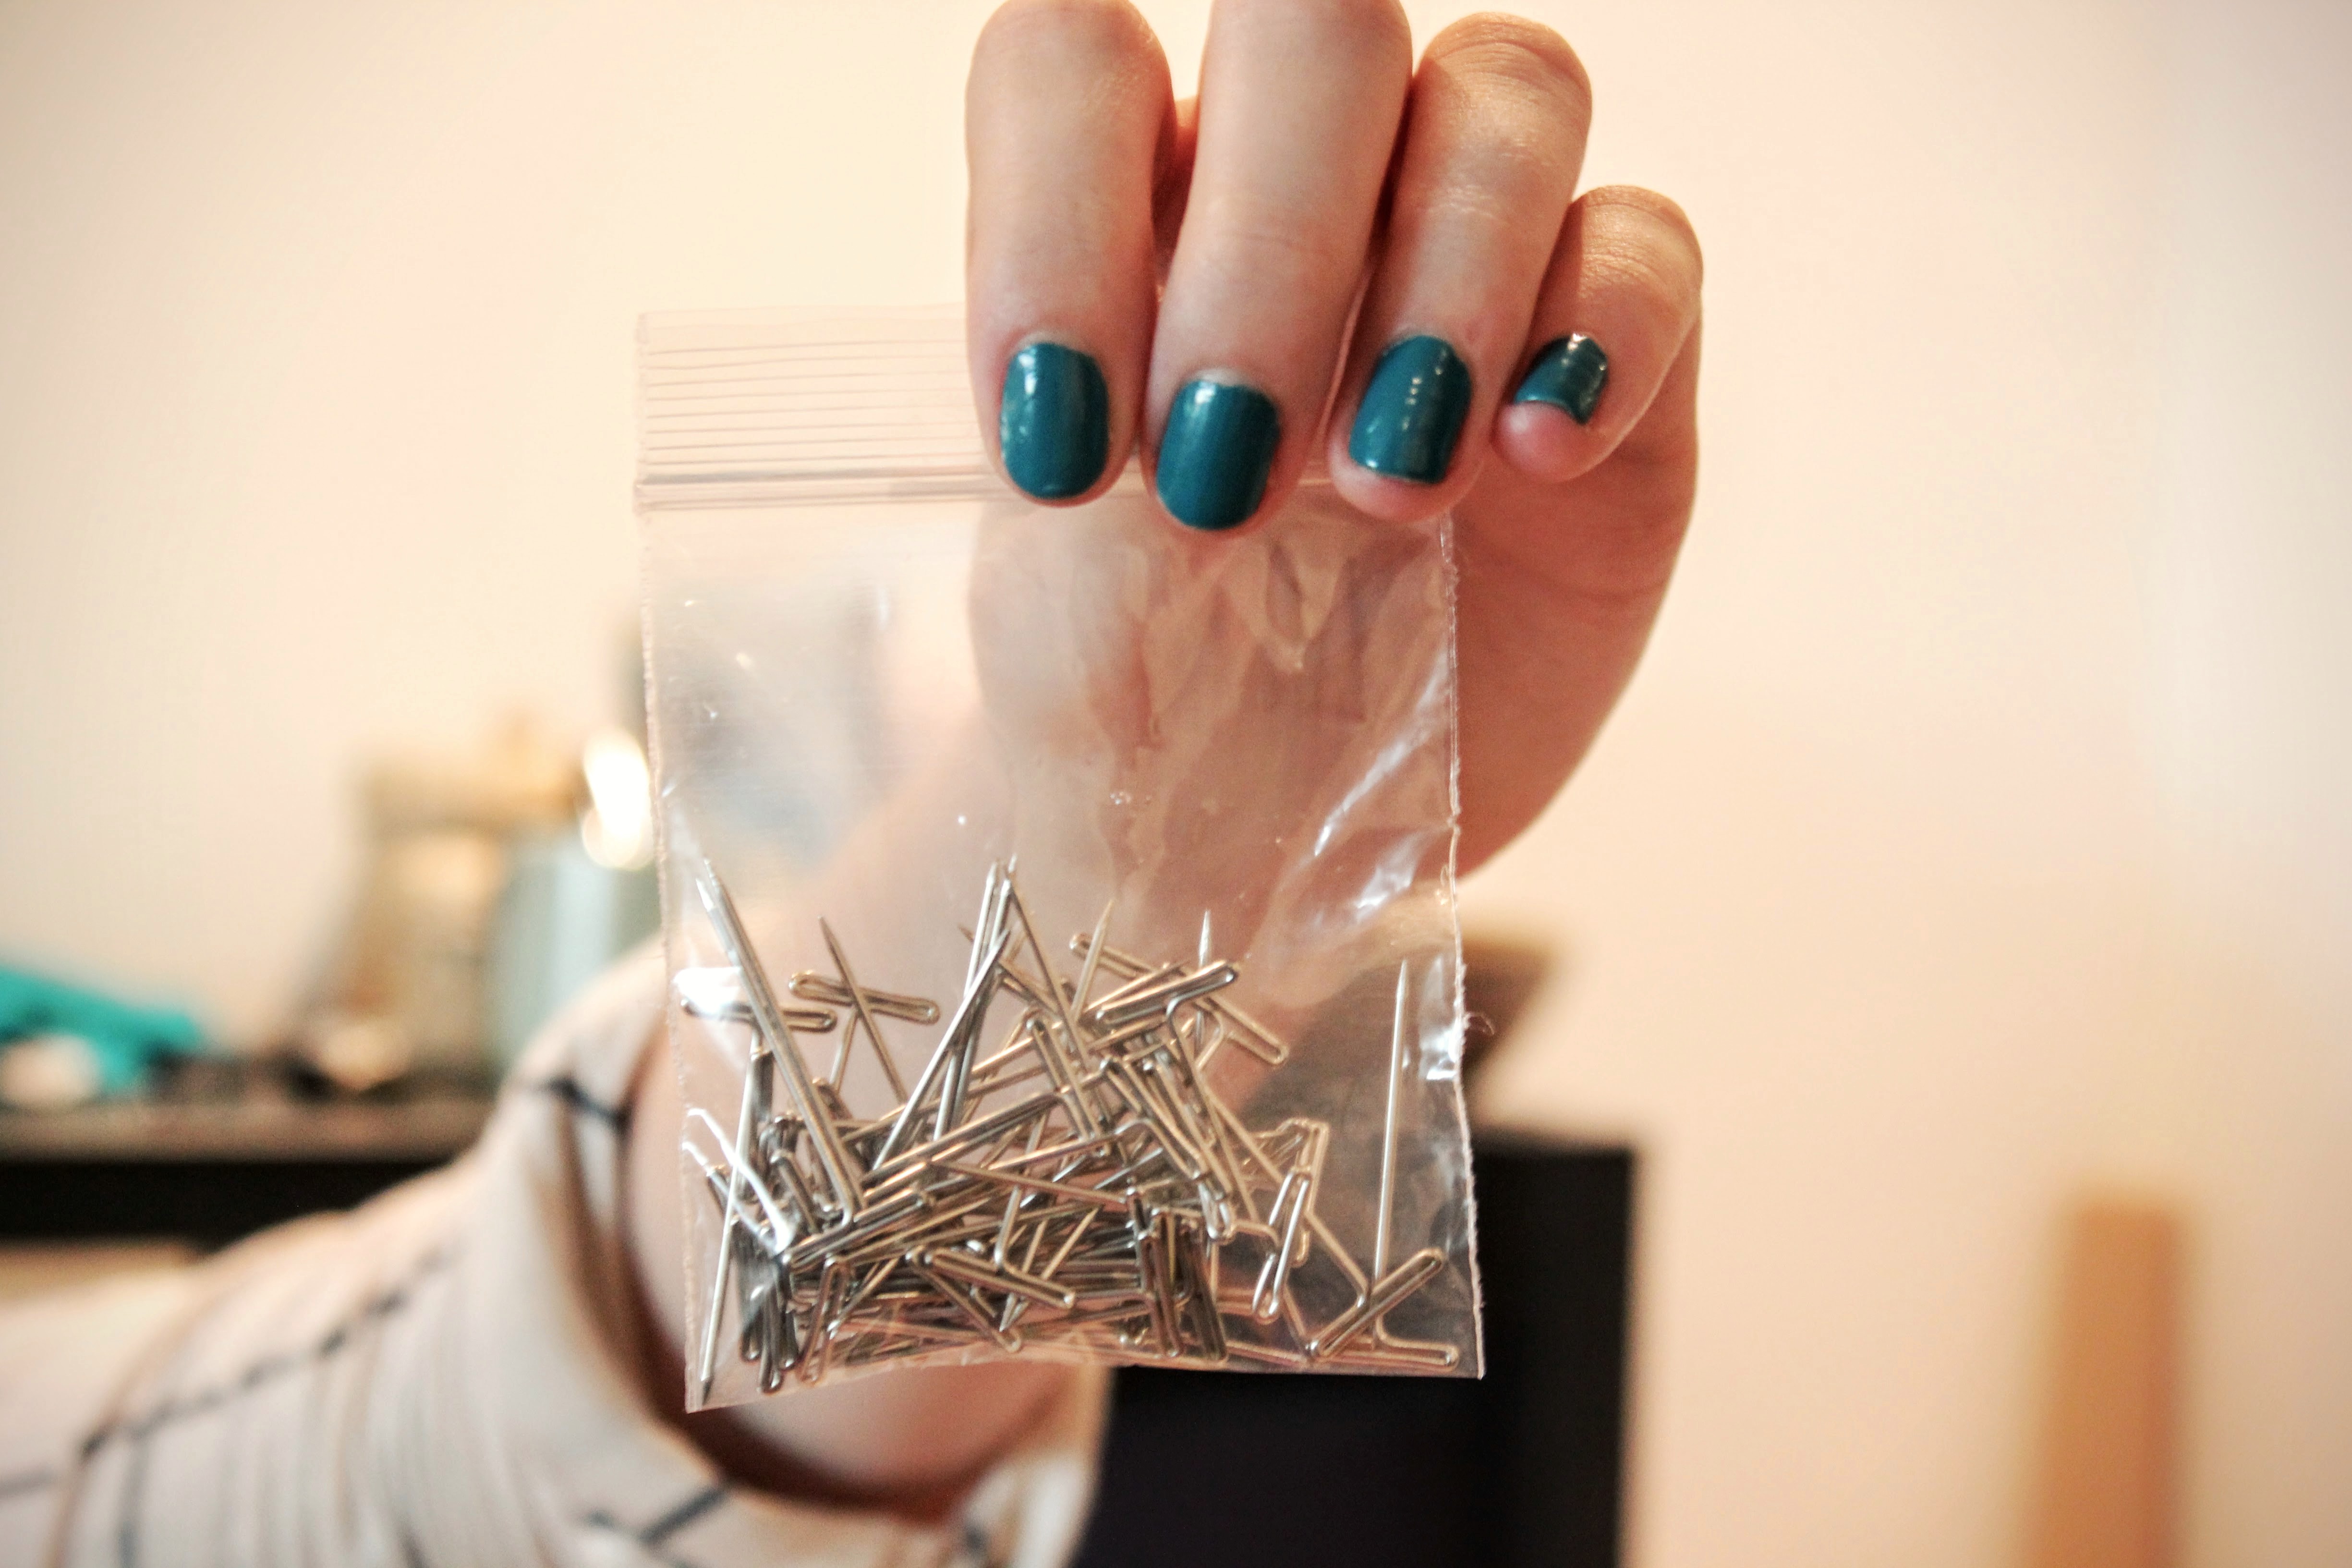
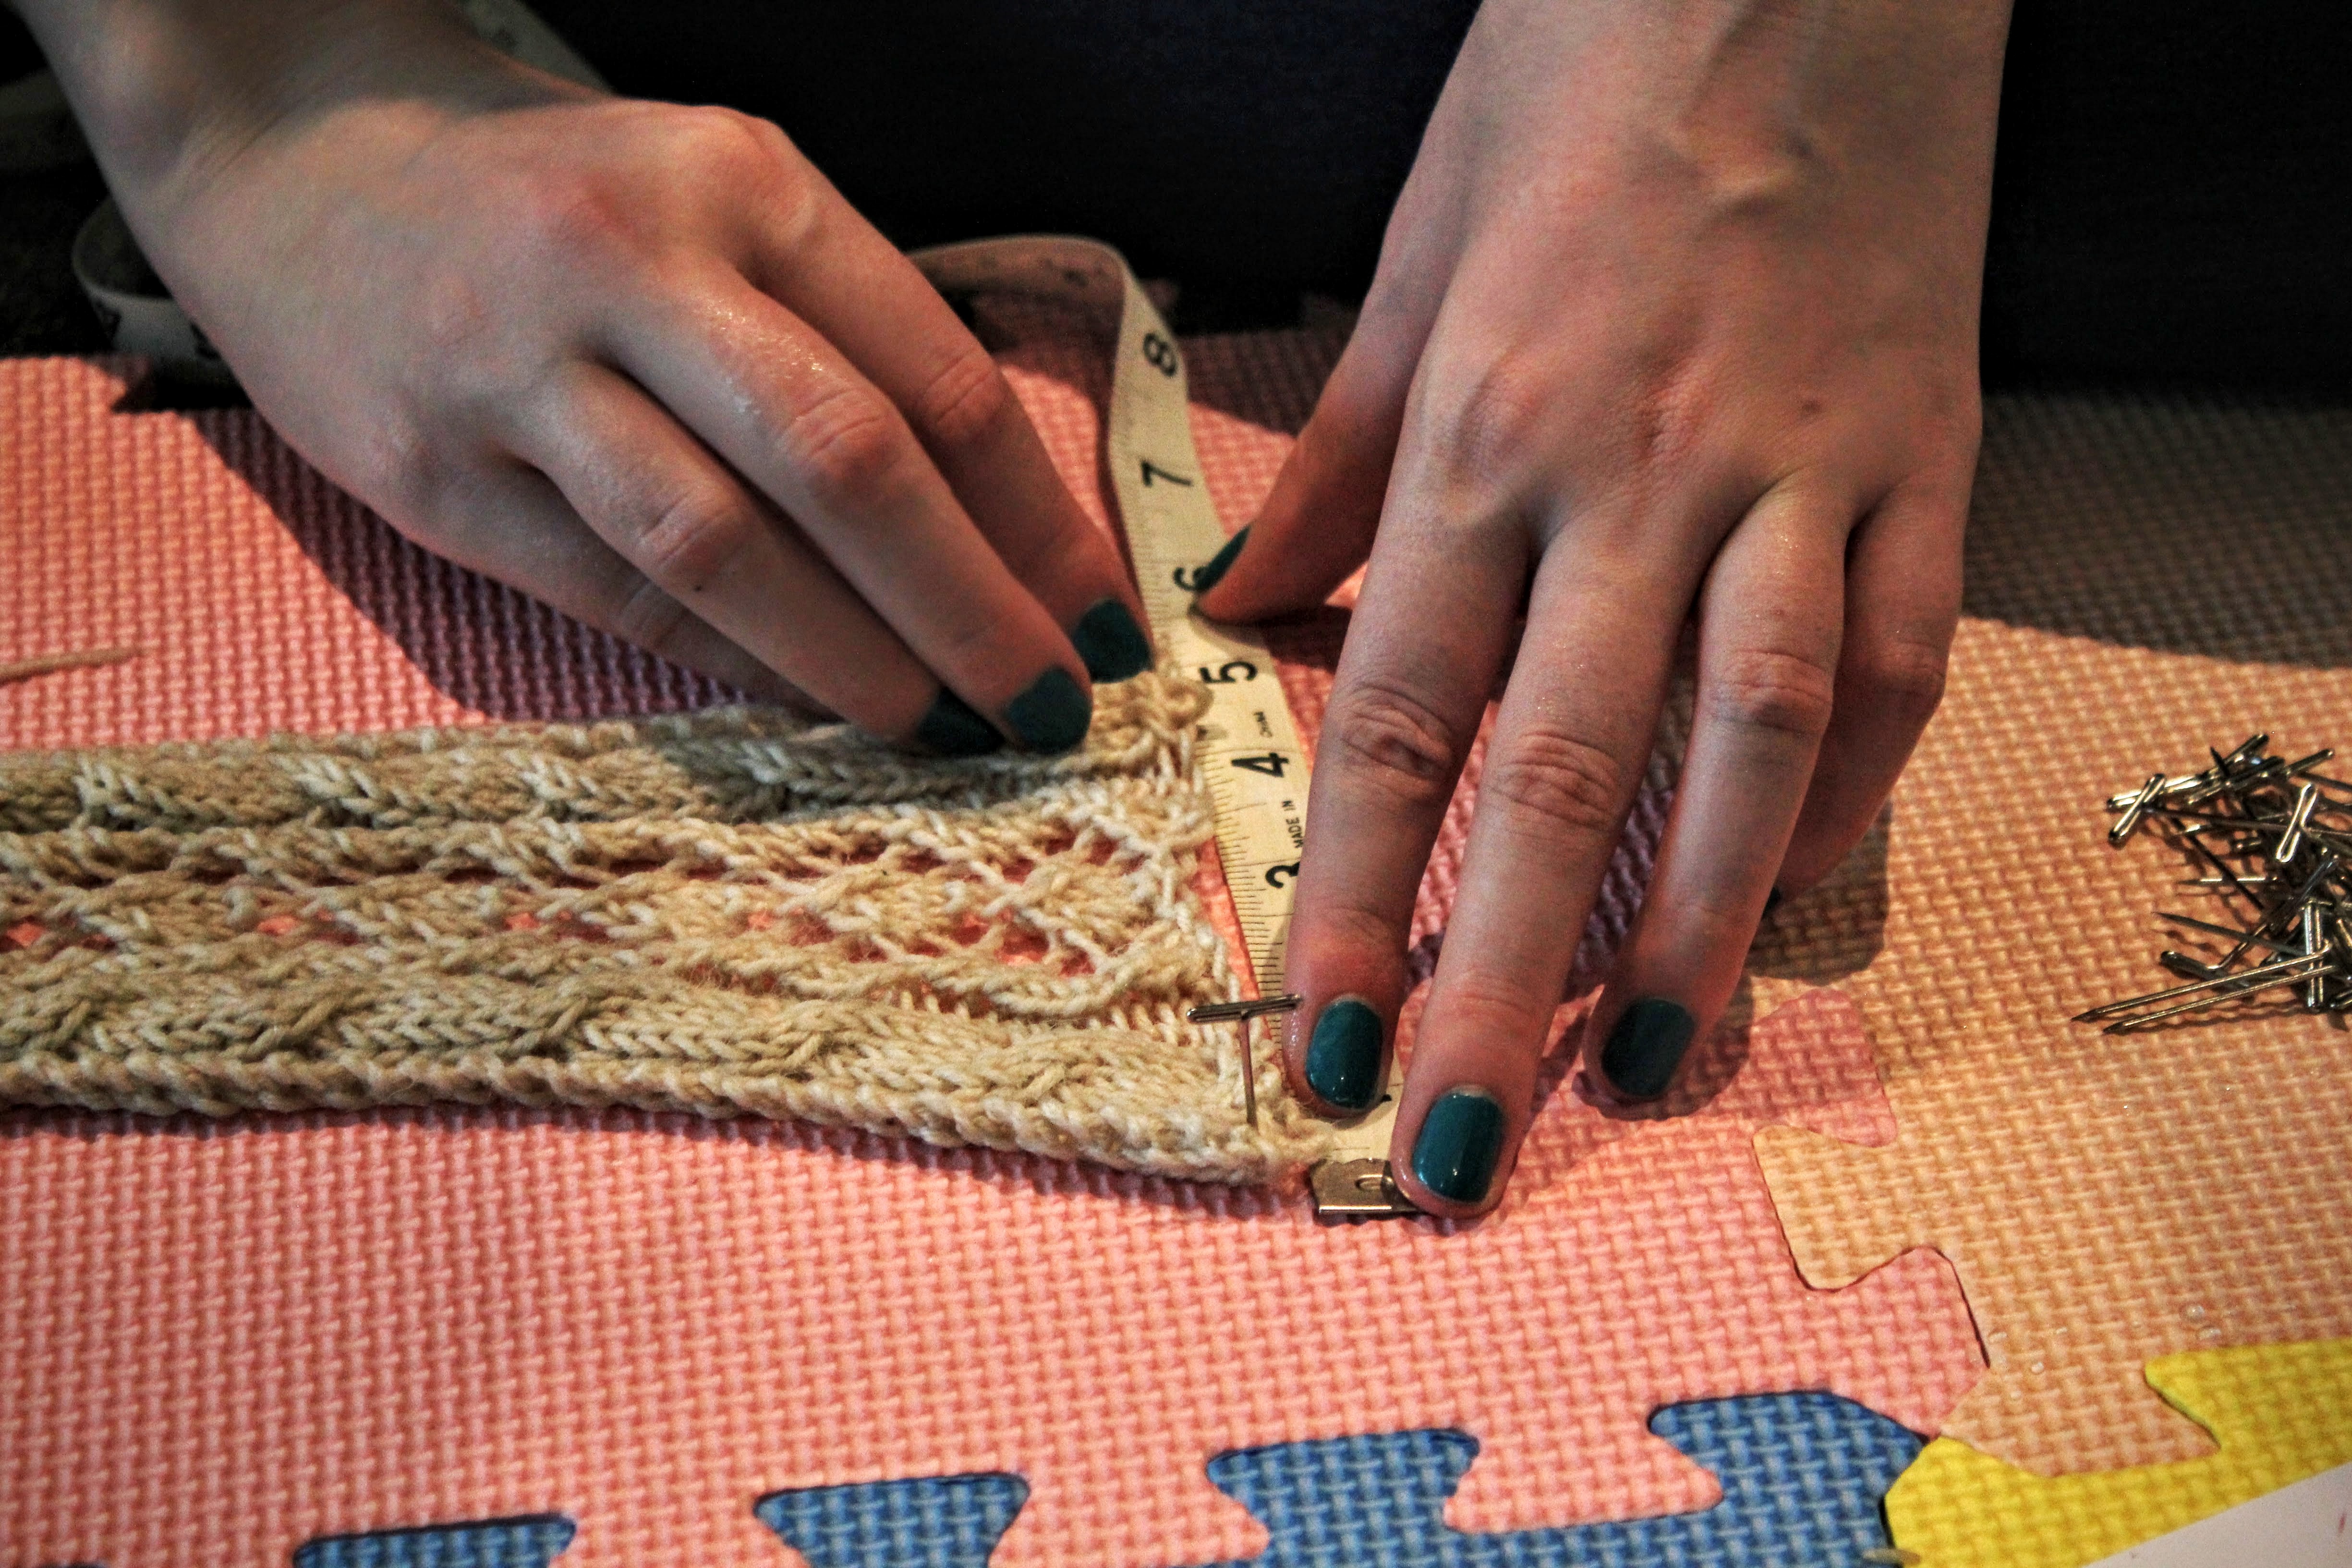
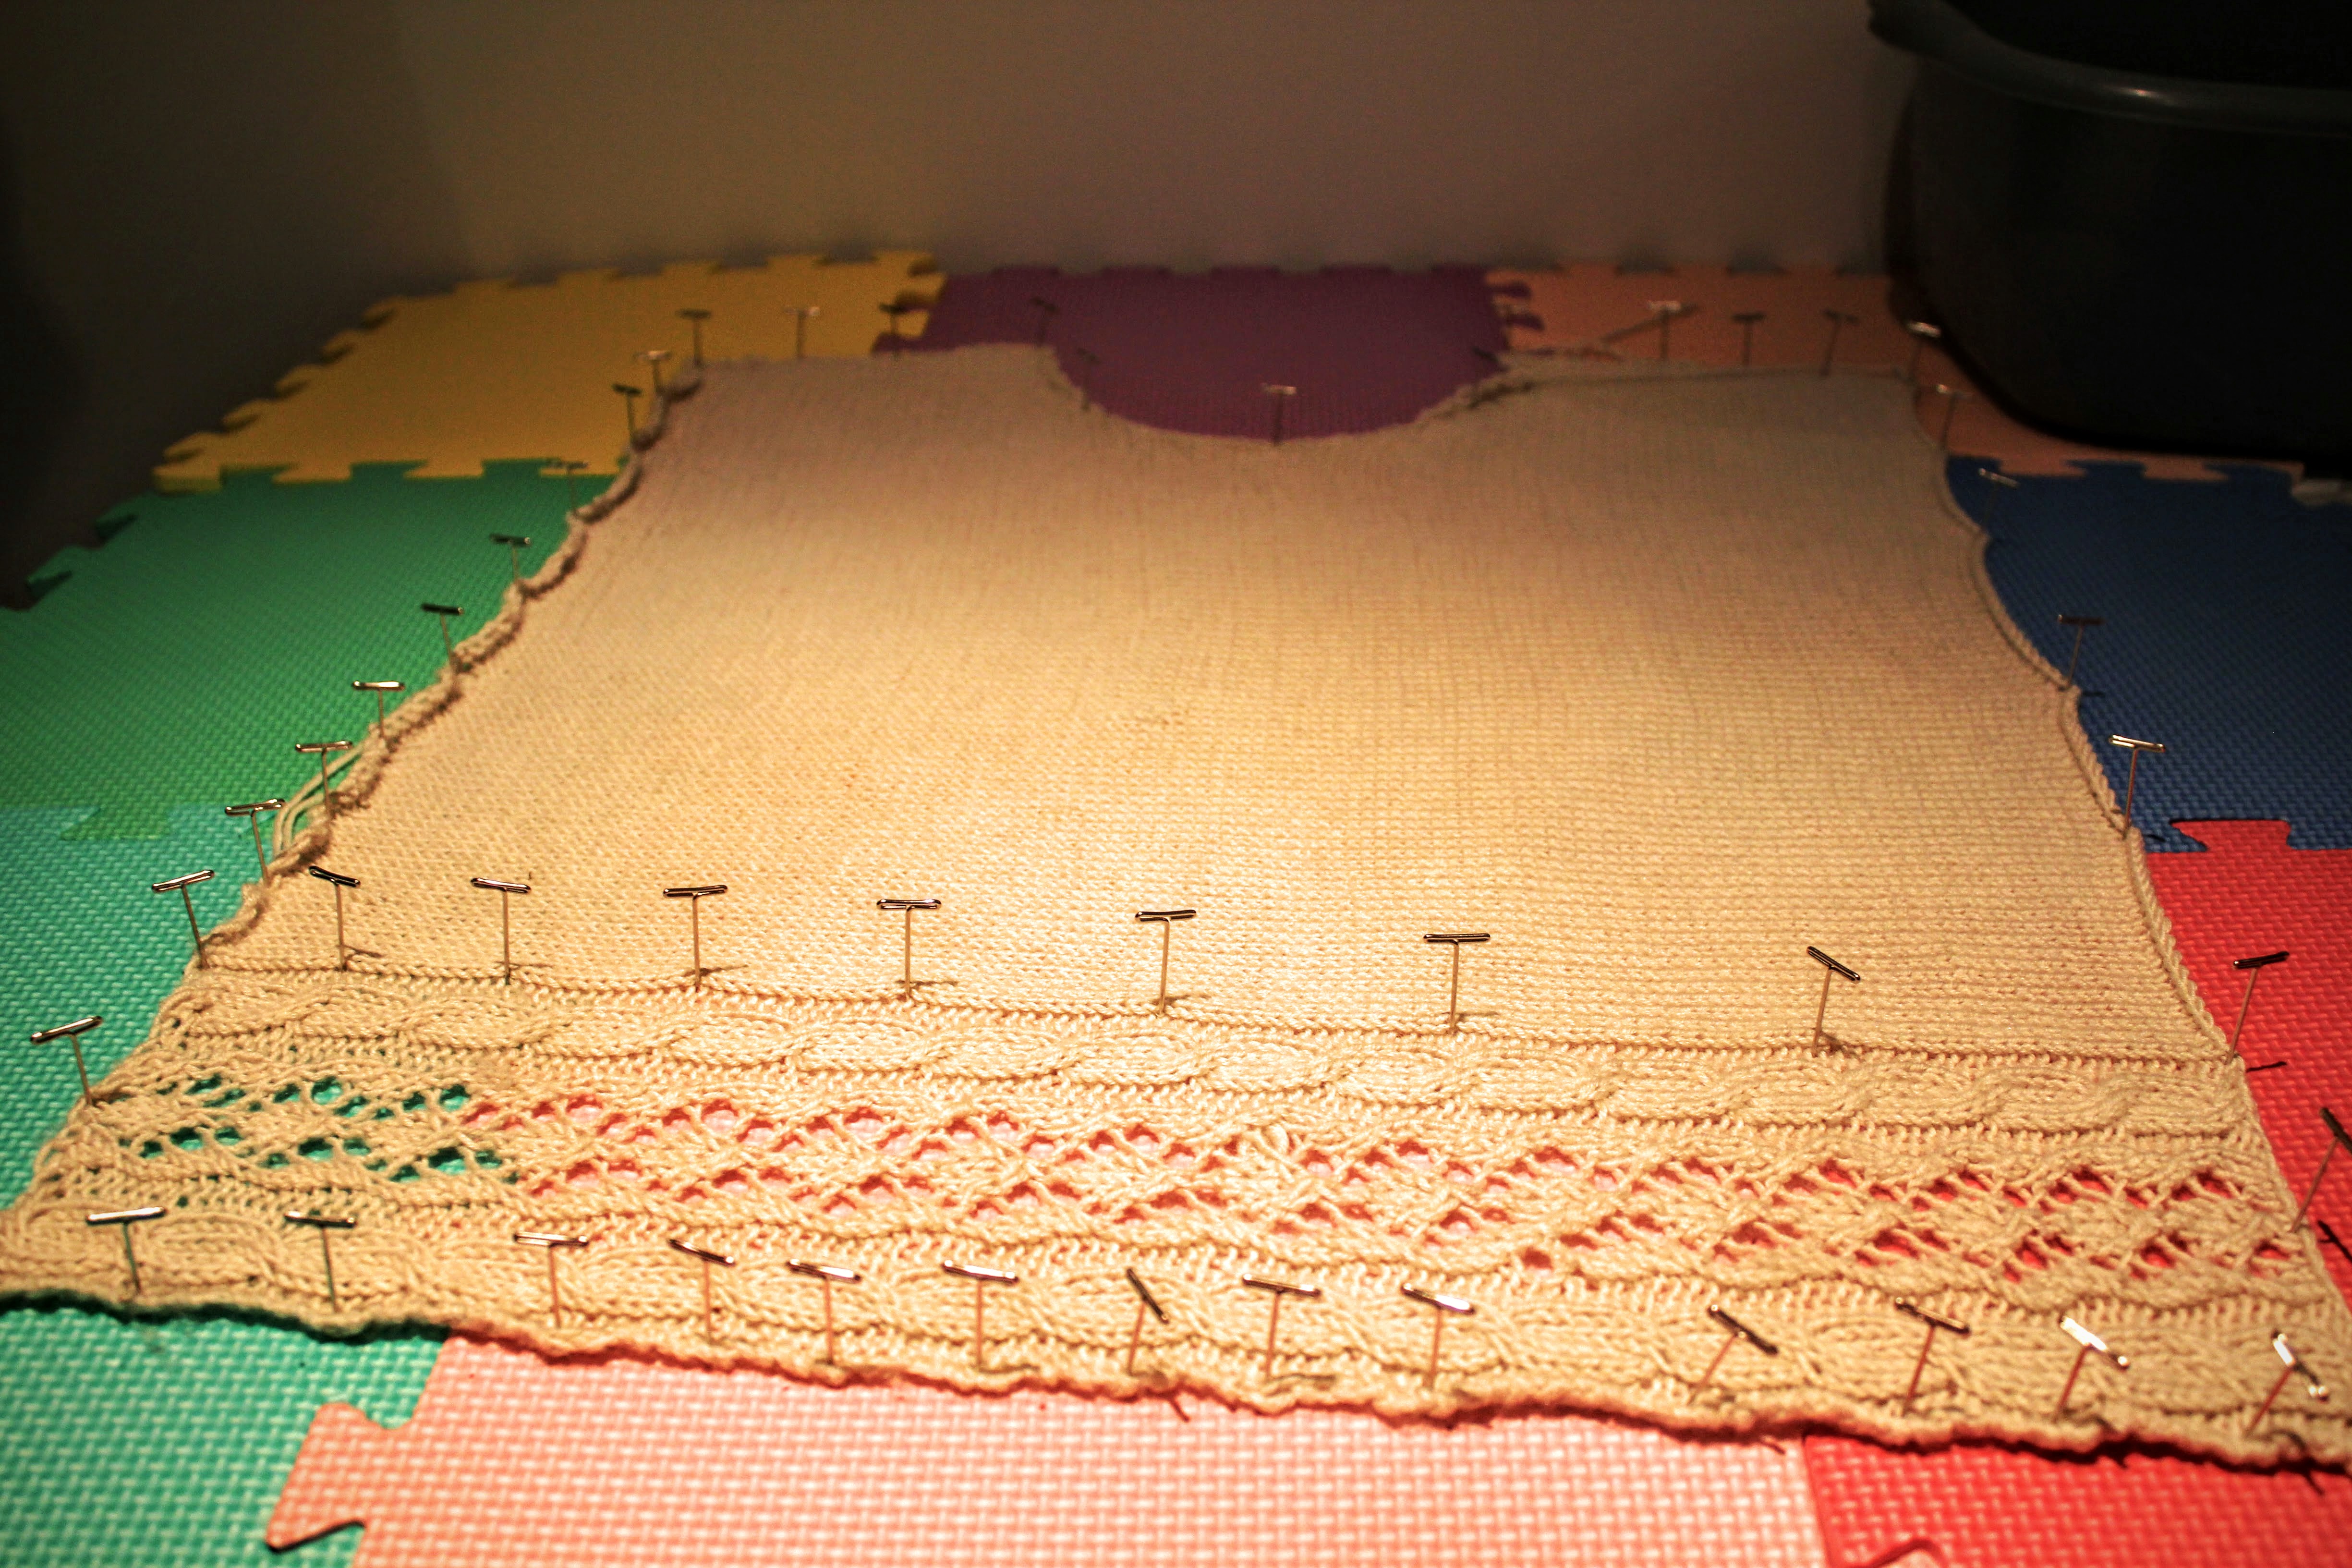
4. Next, I started pinning out my knitting. I recommend these T-pins, which I bought from Amazon for about £4, and this equally cheap kids’ play mat. They’re perfect for the job.
I really enjoyed this part – despite the fact that it’s so precise, which is a little against my nature. I carefully measured as I went along to ensure all the dimensions were exactly right.
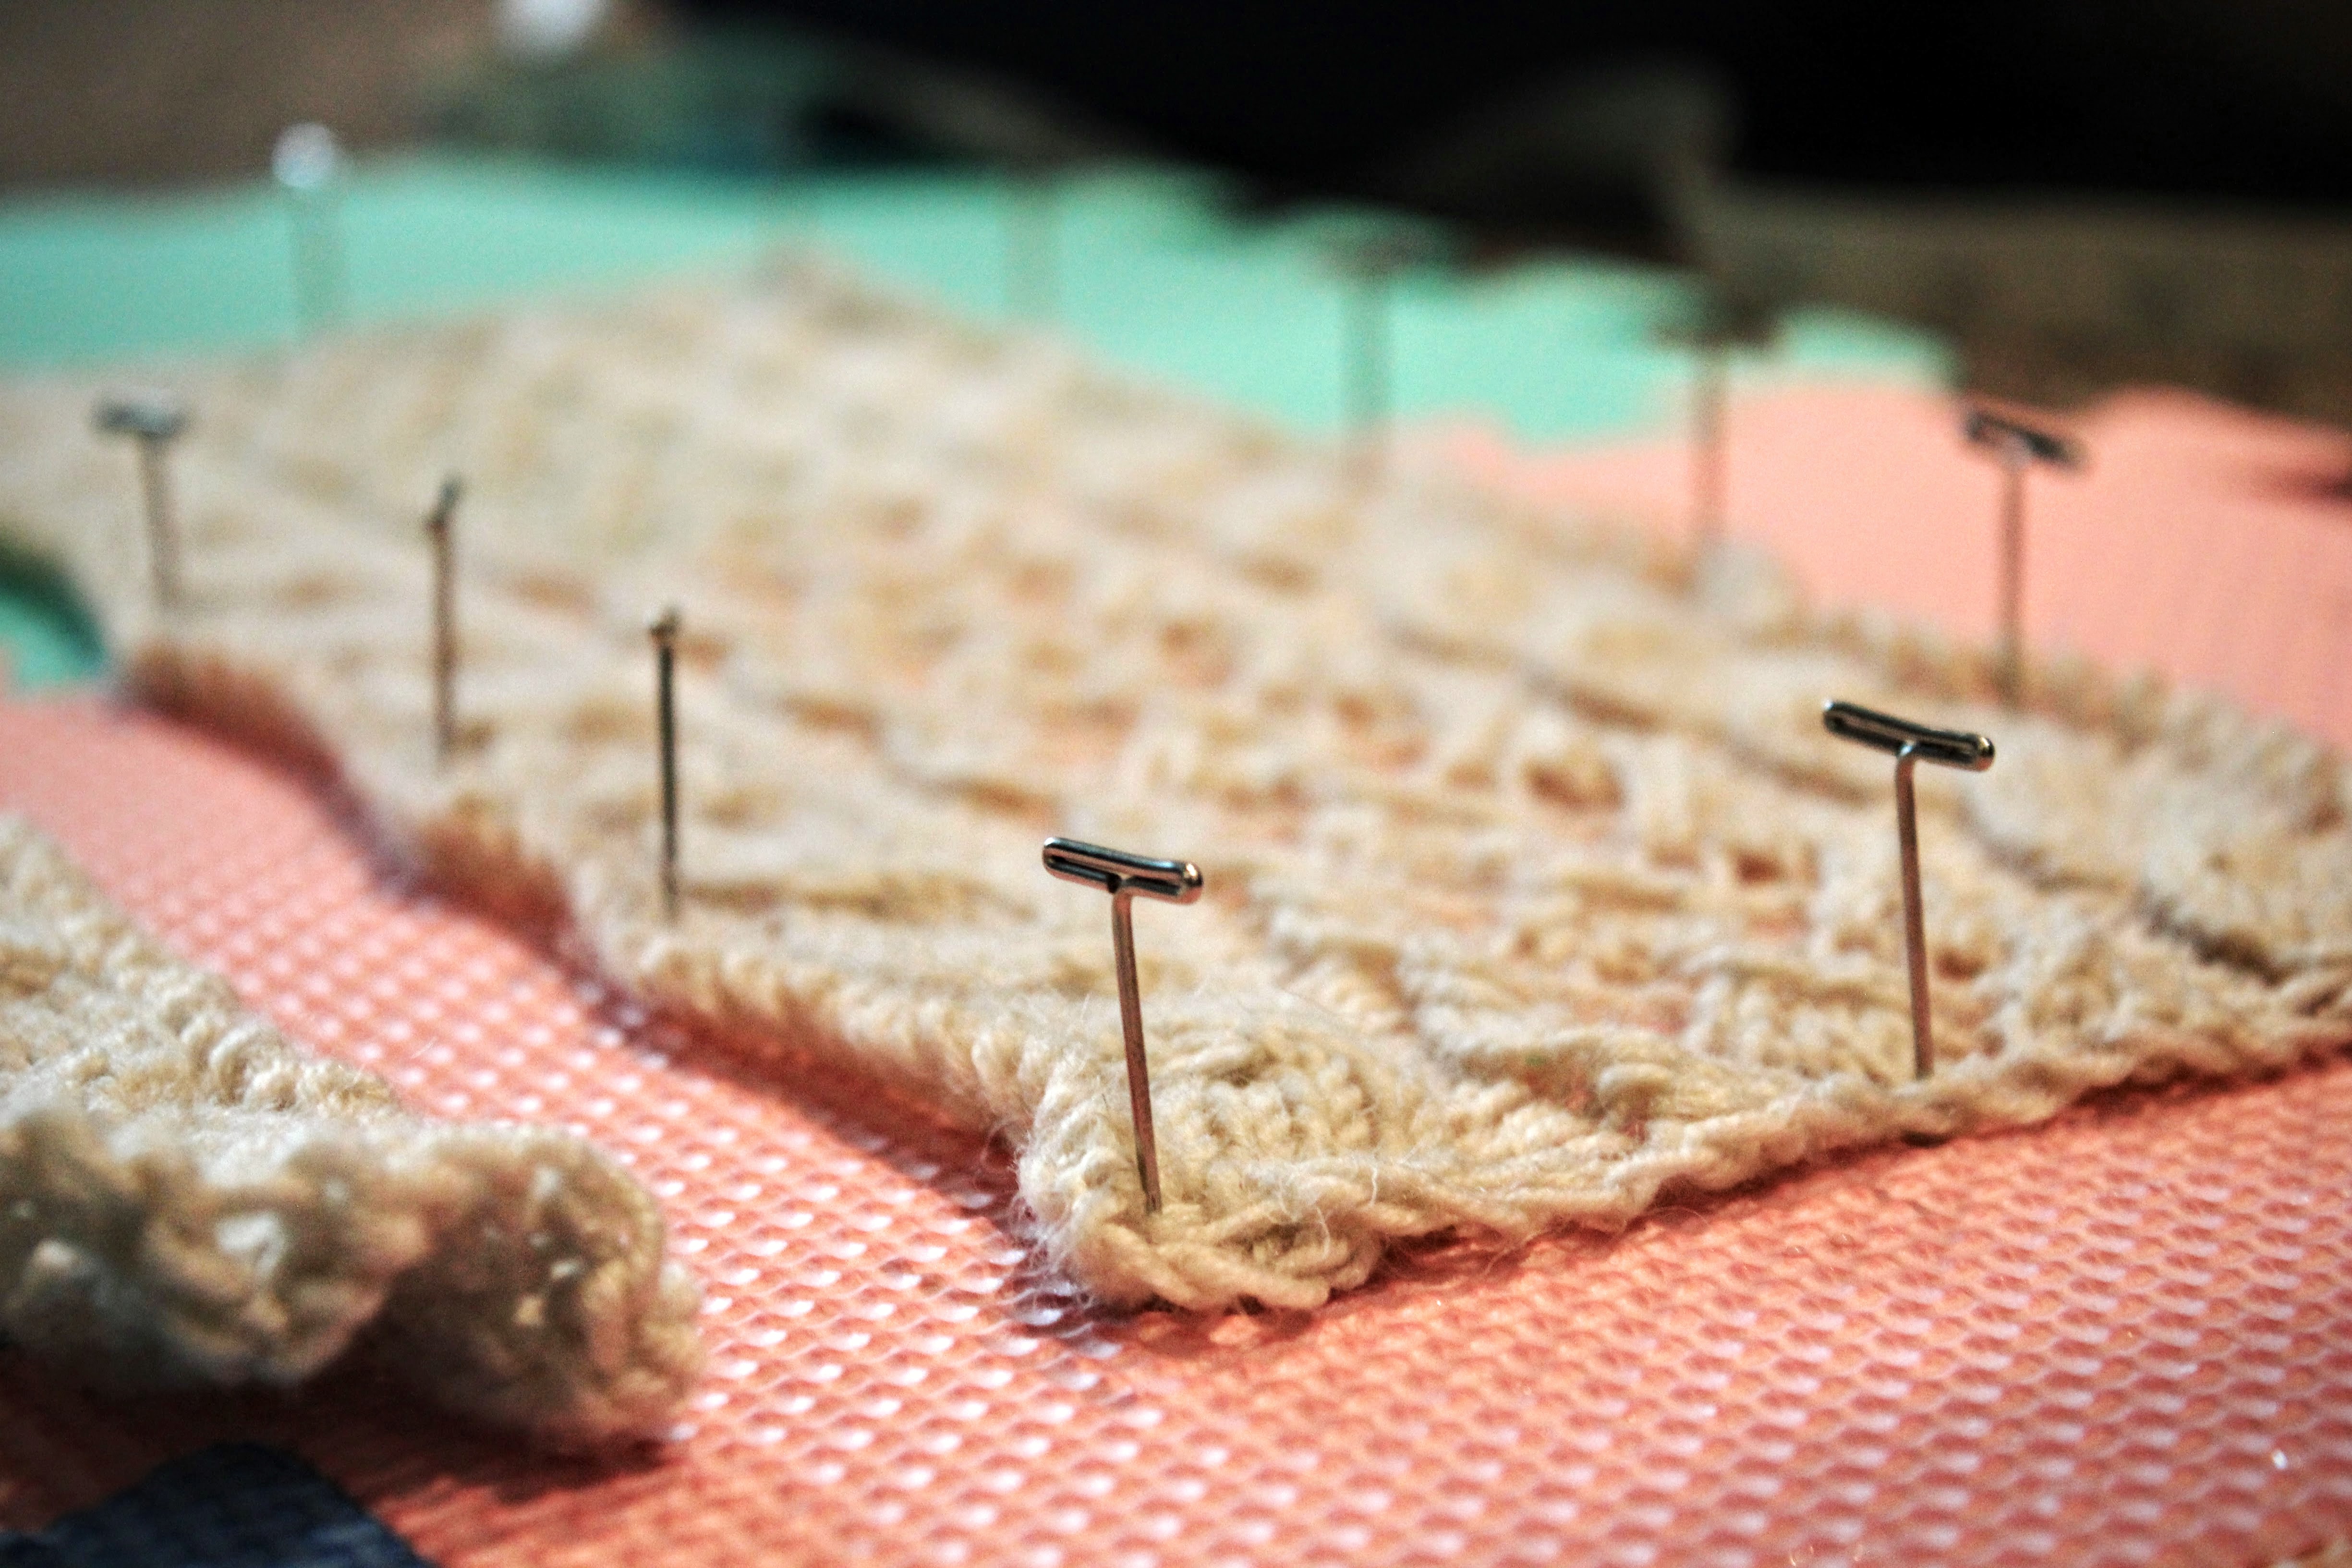
 5. Once I’d done an edge, I worked all the way around my piece of knitting until it was pinned flat to the exact right dimensions. Then I left it in an airy room to dry out.
And, well, that was that! I felt like against all my (bad) instincts, it was best to be patient, so I left it a good 24 hours even though it probably wasn’t necessary.
A few days later, I also blocked the front and back of the jumper; you can see how effective blocking is at getting things into the right shape. I’ve never had a piece that looks so neat!
Overall I loved trying out a new technique. I often find myself being stubborn and stuck in my ways, refusing to try new methods or ways of finishing, so I’m proud of myself for actually giving it a go.
Here are some of the pages I used. They were all really helpful:
Next time you’re about to make up a piece of clothing, think about whether blocking might help and if you decide to take the plunge, let me know how it goes. If, instead, you’re a bit of a blocking pro – feel free to leave any tips and tricks in the comments. I’m still very much a learner!
